Installation Guide | Barn Doors
Barn Doors | Installation Guide
Professional step-by-step installation instructions
Table of Contents
1. Before you Begin
- Inspect your door immediately after delivery.
- Report damages (scratches, glass breakage, water damage, etc.) to Pinky’s Iron Doors Customer Service within 3 days. Do not install if Damage is found. Once the door is installed it can not be returned.
- Keep all original packaging for potential returns.
Important!
Failure to follow installation instructions may result in door misalignment, or voided warranty.
2. Storage & Handling
- Handle doors with at least 2 people.
- Store in a dry, covered area with fabric padding.
- Remove packaging immediately; do not store with shipping materials.
- Keep doors dry and wipe away moisture promptly.
- Never leave doors uncovered on an active job site before installation.
Careful not to scratch
Use scissors only when opening the packaging for your doors, windows, and frames. Do not use razor blades or knives, as any type of blade can scratch and damage the paint.
Refer to our Receiving Instructions for full unpacking guidelines.
3. Tools Required
Tools Required: Only use scissors when opening the packaging for your doors, windows, and frames. Do not use razor blades or knives, as sharp blades can scratch or damage the painted finish. Metal has flex which can only be found by using a small 12-inch level and is the only correct level that must be used to accurately read the designated leveling points.
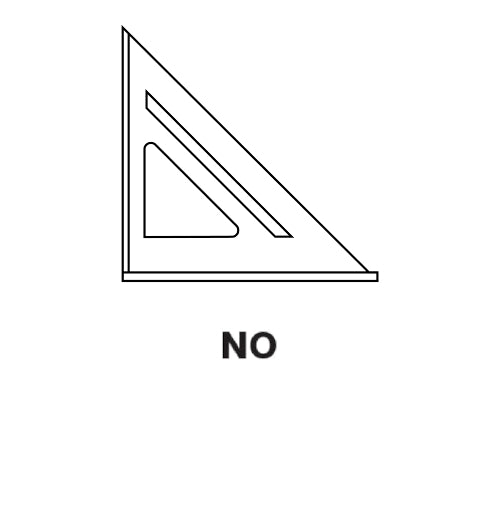
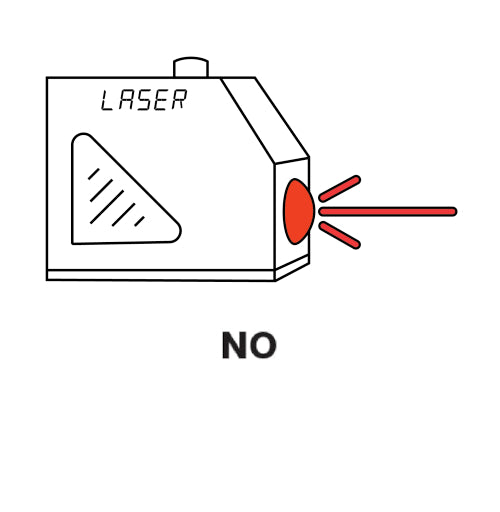
Tools Not to Use: Avoid razor blades, knives, levels longer then 12 inches, laser levels, straight edges, and wood shims. At every leveling point, use two opposing plastic shims for proper adjustment. Wood shims will crack and compress and are not suitable for our doors. Straight edges and rulers are not accurate tools of measurement for our doors since every door is hand forged and made without straight lines. Laser levels, and long levels will not find the flex in our doors during installation.
Installation Prep: Sill pans must be installed prior to frame installation to protect against water intrusion. Do not seal sill pans for proper drainage. Must only use 100% silicone based sealant.
Tools and Tips



4. Rough Opening Requirements
- Ensure you have approximately 10 inches of extra vertical space above the rough opening. This extra space accommodates:
- The top track
- The bottom clearance
- Ensure you have 1" to 2" to the total width on each side to ensure the door can slide without binding.
- Ensure the opening is plumb, level, and square on every side.
- Header must be sufficient to the size of the door to accommodate the weight.
- If you’re installing over finished flooring, account for floor height differences.
5. Frame Installation
Important!
- Before you start installing your door frame, make sure your rough opening is plumb, level, and square. Use plastic shims at the leveling points.
- Use only a 12-inch level when installing. Laser levels and long levels are not sufficient.
- Always use plastic shims; wood shims compress over time.
- If using spray foam, it must be low-expanding and applied by a professional.
- Only blue vinyl painter’s tape on doors/frames.
- Replace tape regularly if exposed to sunlight.
- If duct tape needed, apply blue painter’s tape first.
Serial Numbers
Refer to the CAD drawing provided on the door and frame packaging (see illustration below). Verify that the full serial number matches exactly, and do not mix components from different units. Installing a door on a mismatched frame may result in alignment and fitment issues.


6. Door Panel Installation


7. Care & Maintenance
Correct Method
Regular maintenance keeps doors functioning perfectly. Clean monthly with Pinkys Iron door spray and lubricate hinges yearly with any petroleum grease.
- Vacuum dust/debris after installation.
- Protect doors with blue vinyl painter’s tape only.
- After construction, remove tape and wipe down with Pinkys Iron + Steel Clean Protect Spray
- In coastal environments, salt air can accelerate corrosion on metal products. Regular maintenance and more frequent use of Pinkys Iron + Steel Clean Protect spray is strongly recommended and may be necessary in those conditions.
8. Frequently Asked Questions
- Long levels and laser levels cannot measure natural metal flex and will give inaccurate readings during installation.
- Wood shims compress over time and can cause the door to fall out of alignment.
- High-expansion foam applies excessive pressure, which can bow the frame inward and lead to rubbing or misalignment.
- Leaving the door without locks exposes the interior to moisture, which can cause rust, permanent damage, and void the warranty.
- A tight opening forces the frame inward, causing alignment issues and rubbing.
- Always maintain 1–2 inches of clearance to allow for material expansion and contraction.
9. Troubleshooting
Marks of the Maker
Our doors are designed with real, solid metal craftsmanship. Because we apply high heat during welding, the metal shifts slightly during the cooling process and contracts, which means you might notice tiny subtle variations rather than straight lines. This is normal and part of the handcrafting character of our doors.
We call this Marks of the Maker as this is a hand forged process and none of our products are extracted out of a extrusion type of machine. So when you see slight, gentle curvature or variation, rest assured it’s built into the process.
Hinge Is Not a Leveling Reference
Do not use a level or straight edge on the hinge to check door alignment. The hinge is not a measuring point for our doors. Hinges act as pivot points and are not designed to be perfectly straight.
Because of this, placing a level or straight edge on the hinge will always give a false reading. To confirm proper alignment, check the frame is level using a 12 inch level and has the correct clearance gaps around the frame. Adjust shims as needed at the (X) points listed above.
Door Rubbing or Lock Misalignment
If the door rubs, or locks do not align, check frame leveling with a 12-inch level, shim points, and clearance gaps (.5 inches or larger). Adjust hardware and shims as needed. If the frame is reading level and the door is rubbing then the rough opening is too tight and you need to create more separation between the frame and your rough opening.
Correct Method
Always use a 12-inch level at designated points to account for natural metal flex.